How To Install The Macos Big Sur On Your Mac?
With Apple's release of the macOS Big Sur beta in August for its public beta testing group, it allowed the testing of the new software for macOS ahead of its launch.
Everyone with a compatible Mac can avail the macOS Big Sur Public Beta without any developer account needed. Through this guide, know the steps for installing the beta software. One of the pre-requisites remains 20 GB of free space on the hard drive before undertaking the installation process.
Before downloading the update, consider that Apple has not recommended installing the Public Beta on your main Mac. Therefore, look out for secondary machinery you might have and use that. Being Beta software, it might have bugs and issues that can show up and prevent the software from seamlessly working alongside other issues.
Is your Mac Compatible with macOS Big Sur Run?
Apple’s macOS Big Sur had displayed results to be compatible with most 2013 and later machines which are stated below:
- MacBook – 2015 and later
- MacBook Air – 2013 and later
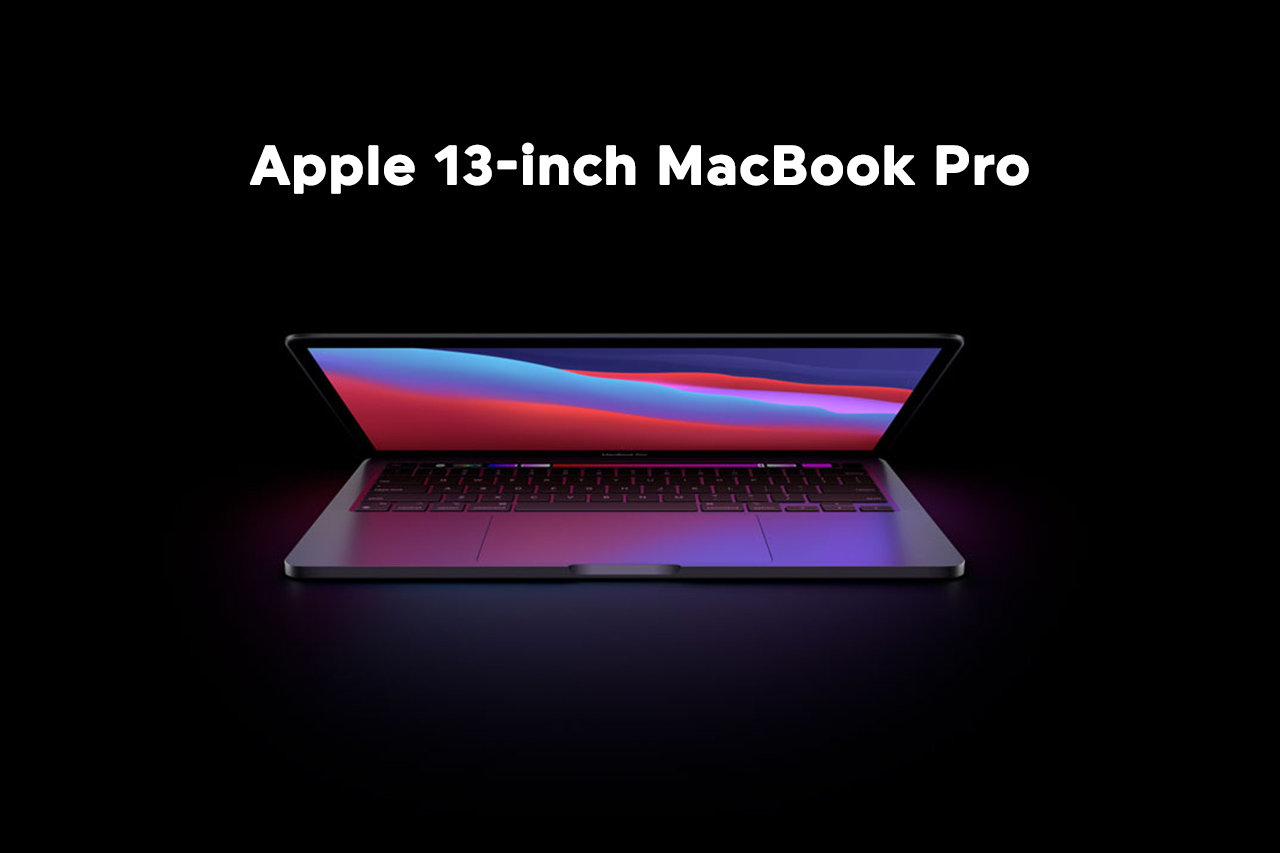
- MacBook Pro – 2013 and later
- iMac – 2014 and later
- iMac Pro – 2017 and later
- Mac mini – 2014 and later
- Mac Pro – 2013 and later
However, the update of the operating system does not support the following which could run the macOS Catalina:
- MacBook Pro – 2013 and Early 2013
- MacBook Air – 2012
- iMac – 2013 and 2013
- Mac Mini - 2012
Perform a Time Machine Backup
Before you jump on to upgrading to the new Beta update, ensure that you make a backup with an external drive by using the Apple's time machine feature.
Once you're done testing the macOS Big Sur, you might want to switch to your previous setup if it doesn't work out. Then, you will be required to install the macOS Catalina and having a back up can help you in smoothly transitioning to get things together and running as earlier.
Get enrolled in Apple’s Beta Software program
For installing the macOS Big Sur, the users will have to enrol in their Mac in the Free Apple beta software program. Here are the steps to enrol in the program.
- In a browser on your Mac, visit the website of Apple beta software program.
- Click on the blue sign up button or the sign-in button to sign up or sign in if you are already a member
- Now you have to enter your Apple ID and password along with two-factor authentication code (if verification required)
- Next is to agree to the terms and conditions of Apple beta software program
- Upon signing in, you will land at the guide for the public beta page. Scroll to the top and click on the "Enroll your Devices" option and then click on "macOS"
Follow these steps to download and install the macOS Big Sur Beta
Upon enrolling in the apples public beta testing program, you can now download the Public Beta by following these steps
- Ensure that you have a backup of your system as mentioned earlier and proceed to “Enroll your Mac” option.
- Then, click on the option – Download the macOS Public Beta Access Utility
- Click n “Allow” when asked – “You want to allow downloads on beta.apple.com”
- The beta installer will be downloaded to your Downloads Folder (unless you’ve customized the settings). Locate the downloaded beta installer and double click on it to open.
- Now, to run the installer, double click on the .pkg file inside
- You may see a backup warning, do it if you haven’t and if done, click on “Ok” and then “Continue”
- Click gain on “Continue” and agree to Apple’s software license agreement
- Upon download completion, the system preferences software update panel will automatically open and display the Public Beta download. Click on Upgrade now and let it download.
Installing the macOS Big Sur Public Beta
Upon restarting, the macOS Big Sur installer will automatically launch. If not, find the applications folder and click on it.
- At the installer’s bottom – Click “Continue”
- Click “Continue” after backup confirmation
- Agree to the terms and conditions and confirm
- Select the drive to be installed
- Click “Install”, enter administrator password, click “OK”
- Click “Restart” or let it reboot automatically, if not restarted
The installation process will start once you click on “Restart”. It will be running on restarting/ rebooting the device.